
Number matching and counting
 Objective
To assist teachers in preparing this Learning Teaching Material for teaching children about numbers (1–10) through matching numerals and quantities (dots) using a hands-on, interactive activity.
Estimated time to create the model for number matching and counting
1.5 to 2 hours
Materials required for creating the model for number matching and counting
- Sunboard sheet (baseboard)
- Coloured paper (for background and number cards)
- White cardstock or thick paper (for frames)
- Chart paper for decorative background (optional)
- Transparent plastic sheet or lamination roll
- Ice-cream sticks (for holding cards or flaps)
- Glue (Fevicol or adhesive)
- Scissors
- Paper cutter
- Ruler
- Black marker or sketch pens
- Black dot stickers or marker dots
- Double-sided tape/ Velcro (optional but useful)
- Decorative tape (for borders)
- Cello tape
Preparation for activity
- Keep all the materials ready in advance.
- Choose a baseboard size (e.g.A2 or 60×40 cm) using a sunboard sheet.
- Select bright, contrasting colour paper for effective visibility and engagement.
- Cut the number and dot cards into equal sizes (preferably squares).
- Plan a layout grid for placing the numbers (1 to 10).
- Pre-cut square frames and materials for lamination.
- If you are using hot glue instead of Fevicol, ensure that the hot glue is heated suitably and is ready for use.
Procedure
- A. Making the matching number cards
- Cut 10 square cards each (12×12 cm) from the sunboard as well as coloured papers. Paste the coloured paper on the square board.
- Then write numbers 1 to 10 using sketch pens or paste the printed numbers.
- Laminate or cover with a transparent plastic sheet. The matching cards are ready.
- B. Making matching cards with dots or pictures
- Prepare 10 square cards (8×8 cm) using white paper and cardboard.
- Draw or paste dots using sketch pens or printed numbers, from 1 to 10.
- Laminate or cover with a transparent plastic sheet.
- Mount on ice-cream sticks.
- Dots can be replaced with pictures representing numbers 1 to 10.
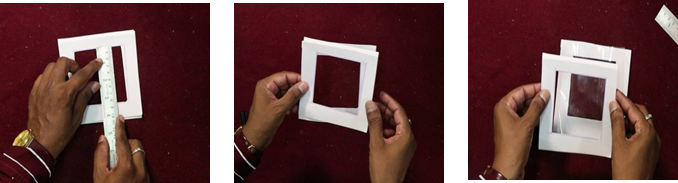
- C. Creating the frames
- Cut 2 nos. of square frames from white cardstock (outer square ~12x12cm, inner cutout ~8×8 cm).
- Fix a transparent sheet between the two frames. Similarly, prepare 9 more frames.
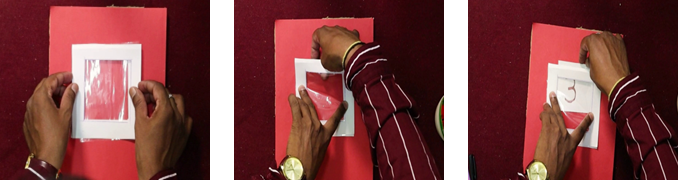
- D. Preparing the baseboard
- Cover the sunboard with coloured paper.
- Mark the grid on the board using a pencil and ruler.
- Now, fix all the frames on the board as per the grid.
- Fix the frames by applying glue only on three sides, leaving the top open. This will create an open pouch, which will be used for inserting the matching number/ picture card.
- Print out or write the numbers 1 to 10 on 8×8 cm-sized sheets.
- Insert and place the numbers inside the frames, such that the numbers are visible.
- Now the baseboard is ready.
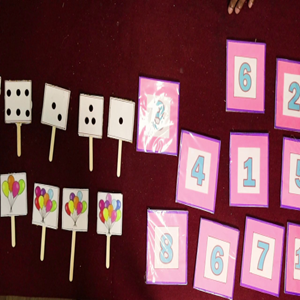
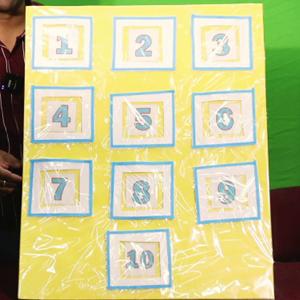
The baseboard with frames for inserting matching cards featuring numbers, dots and pictures is now ready to be used.
Step by Step Pictures to create the Learning Teaching Material
A. Making the matching number cards
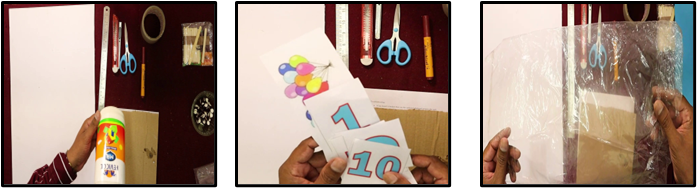
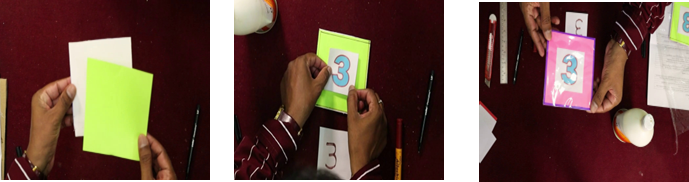
B. Making matching cards with dots or pictures
C. Creating the frames
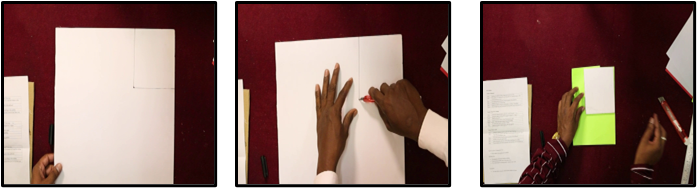
D. Preparing the baseboard
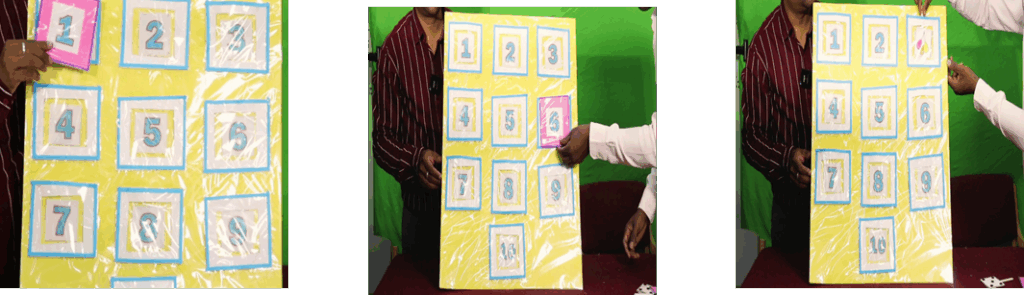
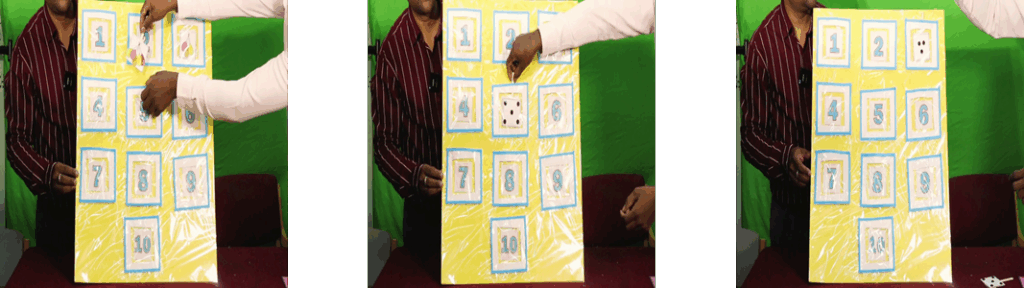
E. Demonstration by matching the numbers on the base board with the corresponding cards
Important Tips
- Use bold fonts and high-contrast colours for visibility.
- Laminate cards for longer durability.
- Keep the layout simple and spaced for easy handling.
- Use uniform card sizes for a neat and organised look.
- Store all loose parts in a labelled envelope or pouch.
Precautions
- Be cautious with sharp tools like paper cutters; only adults should handle them.
- Ensure no small parts pose a choking hazard to younger children.
- Avoid using weak glue or loose Velcro that may fall off during use.
- Keep the laminated surface clean to prevent smudging.
Troubleshooting:
- If cards are not properly held in place, use stronger Velcro or replace them with double-sided tape.
- If the dots are unclear, use pre-made dot stickers or Bindi or thick marker dots.
- If there is confusion in numbers (e.g. 6/9), underline the numbers or colour-code to differentiate.
- To avoid wear and tear of paper, use thick sheets and laminate them to extend life.
- To manage the situation, when any of the cards are misplaced, keep extras and use a storage envelope or box.
 Notes to the Teacher
- Begin with small number sets (1–3, then 4–6, and 7–9).
- Encourage children to say the number and count the dots aloud while matching.
- Turn the activity into games like ‘Find the Match’ or ‘Memory Number’.
- Observe and record students’ understanding of number recognition and counting skills.
Using the Learning Teaching Material
The teacher can demonstrate how to match the numbers and pictures as an example. Students can then be encouraged to pick up the correct matching card when spelt by the teacher and place it in the correct pouch.
Video: How to use Learning Teaching Material
| Source and Attribution of images All images used in the above Assets and Aids are originally created. |
| This digital material has been developed by the Sri Sathya Sai Vidya Vahini Inclusive Education Project, a unit of Sri Sathya Sai Central Trust, Prasanthi Nilayam, as a collaborative offering in the service of our nation. |