Keyboard Keys
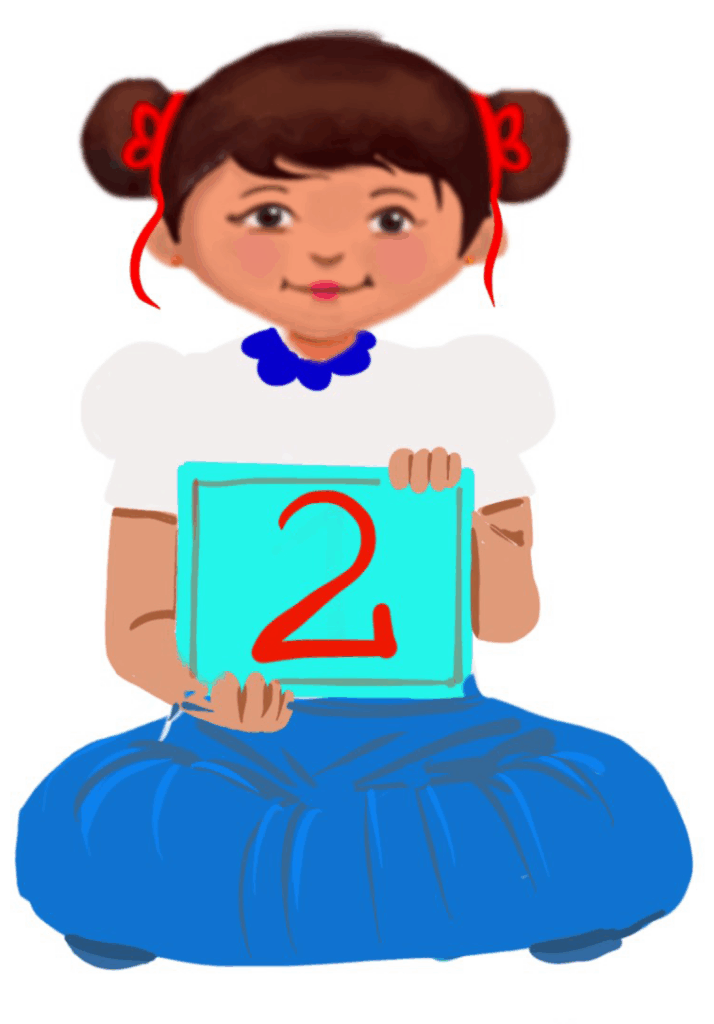
Class 2
 Objective
Students will learn about the different keys on a computer keyboard and their basic functions.
 Prerequisites
Children should know about a computer keyboard.
 Goal
Goal
All
All children will name the different keys on a computer keyboard.
Some
Some children will be able to recognise all the keys on the computer keyboard.
Few
Few children will be able to recognise and use all the keys on the computer keyboard and the functions of each key.
Operational Definition
All – This gives the goal, which is the minimum that the teacher must achieve for all students in the classroom.
Some – This gives the goal that the teacher may try to achieve for some students in the classroom who can achieve the suggested goal over and above the goal stated for ‘All’.
Few – This gives the goal that the teacher may try to achieve for few students in the classroom who can achieve the suggested goal over and above the goal stated for ‘Some’ and ‘All’.
Materials Required:
Technology
- An audio-enabled computer with an internet connection, a smartboard projector, and a screen.
- All devices like laptops, tablets and desktop computers with accessibility features enabled.
- Screen readers like JAWS and NVDA.
- Large keyboards, built-in screen magnifiers, hearing aids, text-to-speech and speech-to-text software.
- Voice recognition software like Siri, Windows Speech Recognition, etc.
- Headsets
- Student writing or typing tools.
Teacher Materials
- Whiteboard and markers or blackboard and chalk.
- Pre-teach vocabulary cards, sight words, communication cards and worksheets.
- Lesson videos.
Student Handouts
- Handout 1: Communication Cards
- Handout 2: Vocabulary Cards
- Handout 4: Trace and Learn Card
- Handout 5: Yes or No Cards
- Handout 6: Thumbs Up and Down Card
- Handout 7: Worksheets
- Handout 8: Small whiteboard and markers
Print Preparation
The teacher will print, copy or laminate (wherever applicable):
- Communication Cards for students
- Trace and Learn Cards for students
- Vocabulary Cards for students
- Thumbs up and Thumbs down Card for students
- Yes or No Cards for students
- Pre-teach vocabulary cards, sight words cards
- Worksheets for students
Preparation for the Activity:
- All the learning and teaching materials needed for this lesson plan must be ready before the lesson begins.
- Ensure that there are enough copies for all children. Multiple copies can be made by photocopying too.
- Please have the assistive technologies and accessibility features ready for your inclusive classroom.
Setup for transacting the lesson:
This topic must be taught in the classroom or a computer lab.
 Notes to the Teacher:
Begin the topic with a pre-assessment worksheet and pre-teach the vocabulary.
1. Expected Prior Knowledge
Awareness of the extent of student’s prior knowledge of the topic will help the teacher plan and deliver the lesson appropriately.
This could be assessed through the provided Pre-assessment worksheet.
Worksheets, Vocabulary Cards, Sight Words:
Worksheet: Pre-Assessment
Enlarged Worksheet: Pre-Assessment
LTM: Pre-teach Vocabulary
2. Introduction
Greetings and Warm-Up:
Welcome students and ask if they have ever used a keyboard before.
Show a large keyboard poster or display a virtual keyboard on the screen.
Ask students to point out any keys they already know (e.g. letters, spacebar).
LTM: Computer Keyboard Poster
LTM: Computer Keyboard Horizontal Poster
LTM: Enlarged Computer Keyboard Poster
3. Let’s Explore the Keyboard
Overview of the Keyboard:
Explain that a keyboard helps us put words and numbers into the computer.
Briefly introduce the different sections of the keyboard (letters, numbers, spacebar, enter key, etc.)
Use the computer keyboard posters to highlight each section.
Exploring Alphabet keys:
Ask the children to focus on the alphabet keys. Point out that each key has a letter from A to Z
Play an interactive game where students find and press the keys that spell their name. For students with shorter names, encourage them to type their names multiple times.
Ask students to identify the first letter of different objects (e.g. “What letter does ‘apple’ start with? Now find that key on the keyboard!”).
Activity 1:
Give each student a small whiteboard and a marker. Ask them to look at the keyboard, point to any letter or number and write it on the whiteboard.
Activity 2:
Group Activity: Keyboard Matching Game:
Divide students into small groups. Give each group a set of alphabet flashcards.
Each student in the group picks a flashcard, finds the matching key on the keyboard, and presses it.
The group that finds all their letters wins.
Activity 3:
Play a quick round of ‘Simon Says’ using the keyboard. For example, “Simon says press the A key!” or “Simon says press the spacebar!”
Video: Let’s Explore the Keyboard
4. Keyboard Keys
Guided watching
Bring the attention of the students to the screen and say, “Let’s watch this video.
Ask students to give a ‘thumbs up’ whenever they hear or see the word arrow key, enter key, caps lock key, shift key, spacebar key, backspace key and delete key in the video.
Play the video
Video: Keyboard Keys
Video: Keyboard Keys with ISL
Worksheets and Communication Cards:
Worksheet: Vocabulary
Enlarged Worksheet: Vocabulary
Worksheet: Trace and Learn
Enlarged Worksheet: Trace and Learn
LTM: Thumbs Up and Down Card
LTM: Yes or No Cards
5. Assessment
Observation: Monitor students as they explore and use the keyboard, ensuring they can identify and press the correct keys.
Participation: Note students’ engagement during the lesson, especially during the group activities and games.
Mini-Quiz: At the end, ask a few Wh questions (e.g. “What does the spacebar do?”) to assess understanding.
Worksheet: Wh Cards
Try Me: Keyboard Keys
6. Adaptations and Modifications: Keyboard Keys
Adaptations and Modifications: Keyboard Keys
7. Follow-up activities
Typing Practice: In future lessons, introduce typing practice using simple words and sentences to reinforce key recognition.
Keyboard Art: Have students use the keyboard to create simple art (e.g. patterns using different symbols or letters).
Alphabet Hunt: Challenge students to find all the alphabet keys on a keyboard and type the entire alphabet.
8. Assistive Technologies and Adaptive Devices
Assistive Technologies and Adaptive Devices
Teacher Resource Document
| Source and Attribution of images: All images used in the above Assets and Aids are originally created/licensed. |
| This digital material has been developed by the Sri Sathya Sai Vidya Vahini Inclusive Education, a unit of Sri Sathya Sai Central Trust, Prasanthi Nilayam, as a collaborative offering in the service of our nation. |